

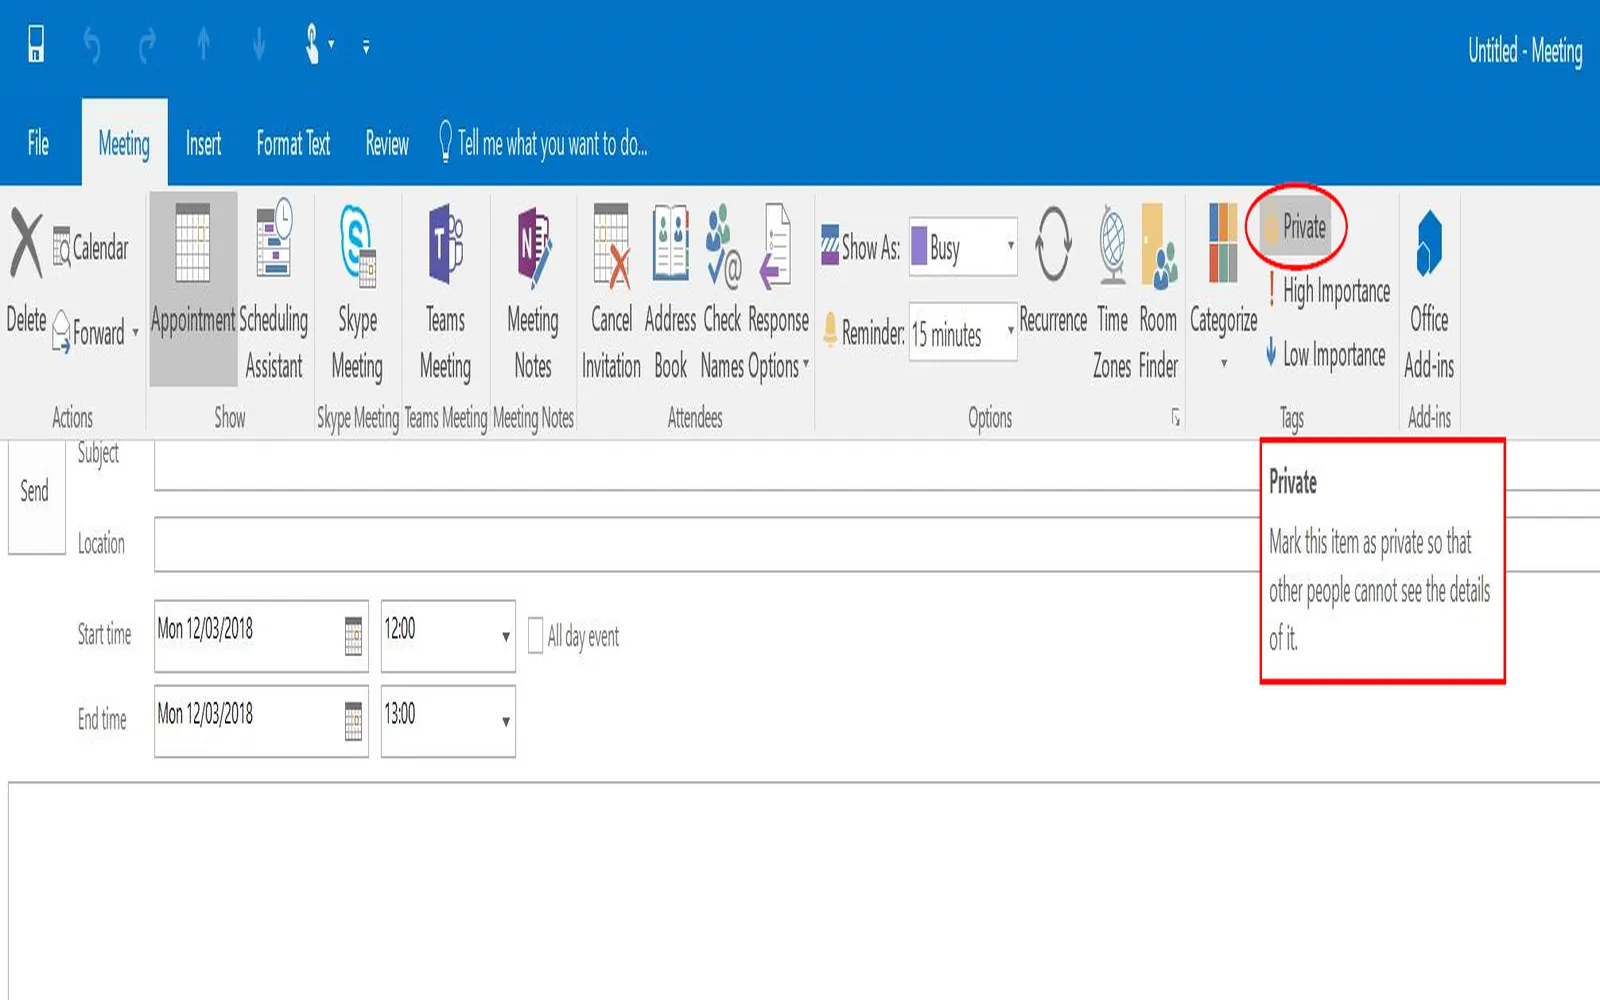
When managing meetings and appointments, finding a suitable time for all attendees can be a challenge. Fortunately, the Scheduling Assistant in Outlook simplifies this process by allowing users to view others' availability and choose optimal meeting times. Below, we will explore how to effectively use the Scheduling Assistant, along with tips and best practices to enhance your scheduling experience.
Accessing the Scheduling Assistant
To use the Scheduling Assistant in Outlook, follow these steps:
- Open Outlook and go to the Calendar section.
- Click on “New Meeting” or “New Appointment” to create a new event.
- Once the meeting window opens, navigate to the “Scheduling Assistant” tab located at the top of the window.
At this point, you will be able to see a visual representation of the attendees’ availability.
Understanding the Scheduling Assistant Interface
The Scheduling Assistant interface displays a grid that shows the availability of all attendees. The grid is divided into time slots, with color codes indicating whether each attendee is free, busy, or tentative. Here’s a quick breakdown:
| Status | Color Code | Description |
|---|---|---|
| Free | Green | The attendee is available for a meeting. |
| Busy | Red | The attendee is currently busy and cannot attend. |
| Tentative | Yellow | The attendee has a tentative meeting scheduled. |
| Out of Office | Gray | The attendee is out of the office and not available. |
Selecting the Optimal Time
Once you have accessed the Scheduling Assistant, the next step is to find the best time for your meeting. Here are some tips to help:
- Look for common free slots: Identify time slots where all attendees are marked as free. This will ensure maximum participation.
- Avoid busy times: Try to schedule meetings outside of peak hours when most attendees are likely to be available.
- Consider time zones: If attendees are in different time zones, use the “Time Zone” feature in the meeting window to adjust the meeting time accordingly.
Adding Resources and Locations
The Scheduling Assistant also allows you to add resources such as conference rooms or equipment needed for the meeting. To do this:
- In the meeting window, go to the “Rooms” button located on the right side of the “To” field.
- Search for available rooms and select the one that suits your needs.
- Once you have added the room, it will appear in your meeting invitation, and the Scheduling Assistant will update to reflect its availability.
Sending Meeting Invitations
After selecting the time and adding any necessary resources, it’s time to send the meeting invitations. Ensure that you:
- Include a clear agenda: Outline the meeting’s purpose and topics to be discussed.
- Attach relevant documents: If there are materials that attendees should review prior to the meeting, attach them to the invitation.
- Send reminders: Use Outlook’s reminder feature to notify attendees before the meeting starts.
Post-Meeting Follow-Up
After the meeting, it’s essential to follow up with attendees. Here are some best practices:
- Send minutes: Share the minutes of the meeting to ensure everyone is on the same page regarding decisions and action items.
- Request feedback: Solicit feedback from attendees to improve future meetings.
Conclusion
The Scheduling Assistant in Outlook is a powerful tool that can streamline the process of scheduling meetings. By understanding how to access and utilize its features, you can enhance communication and collaboration within your team. Whether you’re coordinating with colleagues or setting up appointments with clients, the Scheduling Assistant can help you find the perfect time for everyone involved. Embrace this tool to improve your productivity and make meeting scheduling a breeze.


