

In today’s fast-paced environment, managing appointments effectively is crucial for both individuals and businesses. One of the best tools available for scheduling is ''Calendly''. However, to take your scheduling game to the next level, integrating ''Calendly'' with ''Google Sheets'' can be a game-changer. In this article, we'll explore how to automatically add new ''Calendly events'' to ''Google Sheets'', streamlining your workflow and enhancing productivity.
Why Integrate Calendly with Google Sheets?
Integrating ''Calendly'' with ''Google Sheets'' offers a range of benefits:
- Centralized Data Management: By automatically adding ''Calendly events'' to ''Google Sheets'', you can keep all your appointment data in one place, making it easier to analyze and review.
- Real-Time Updates: Any new events scheduled through ''Calendly'' will be instantly reflected in your ''Google Sheets'', ensuring you never miss important information.
- Data Analysis: With the data in ''Google Sheets'', you can easily create charts, graphs, and pivot tables to visualize your scheduling trends and make informed decisions.
Setting Up the Integration
The integration process between ''Calendly'' and ''Google Sheets'' can be achieved through automation tools like Zapier or Integromat. Below, we’ll guide you through the steps of using Zapier for this purpose.
Step-by-Step Guide to Automate Calendly Events to Google Sheets
Follow these steps to connect ''Calendly'' with ''Google Sheets'':
Step 1: Create a Zapier Account
If you don’t already have a Zapier account, go to the Zapier website and sign up for a free account. Zapier allows you to create automated workflows between applications without needing to write any code.
Step 2: Connect Calendly with Zapier
After logging in, click on “Make a Zap”. In the “Trigger” section:
- Search for ''Calendly'' and select it.
- Choose the trigger event “Invitee Created”. This means that the automation will start when a new invitee books an event.
- Connect your ''Calendly'' account to Zapier by following the prompts to authorize access.
Step 3: Set Up Google Sheets Action
Once you’ve set up the trigger, it’s time to add the action:
- In the “Action” section, search for ''Google Sheets'' and select it.
- Choose the action event “Create Spreadsheet Row”. This action will add a new row to your specified ''Google Sheets'' document whenever a new ''Calendly event'' is scheduled.
- Connect your ''Google Sheets'' account, allowing Zapier to access your sheets.
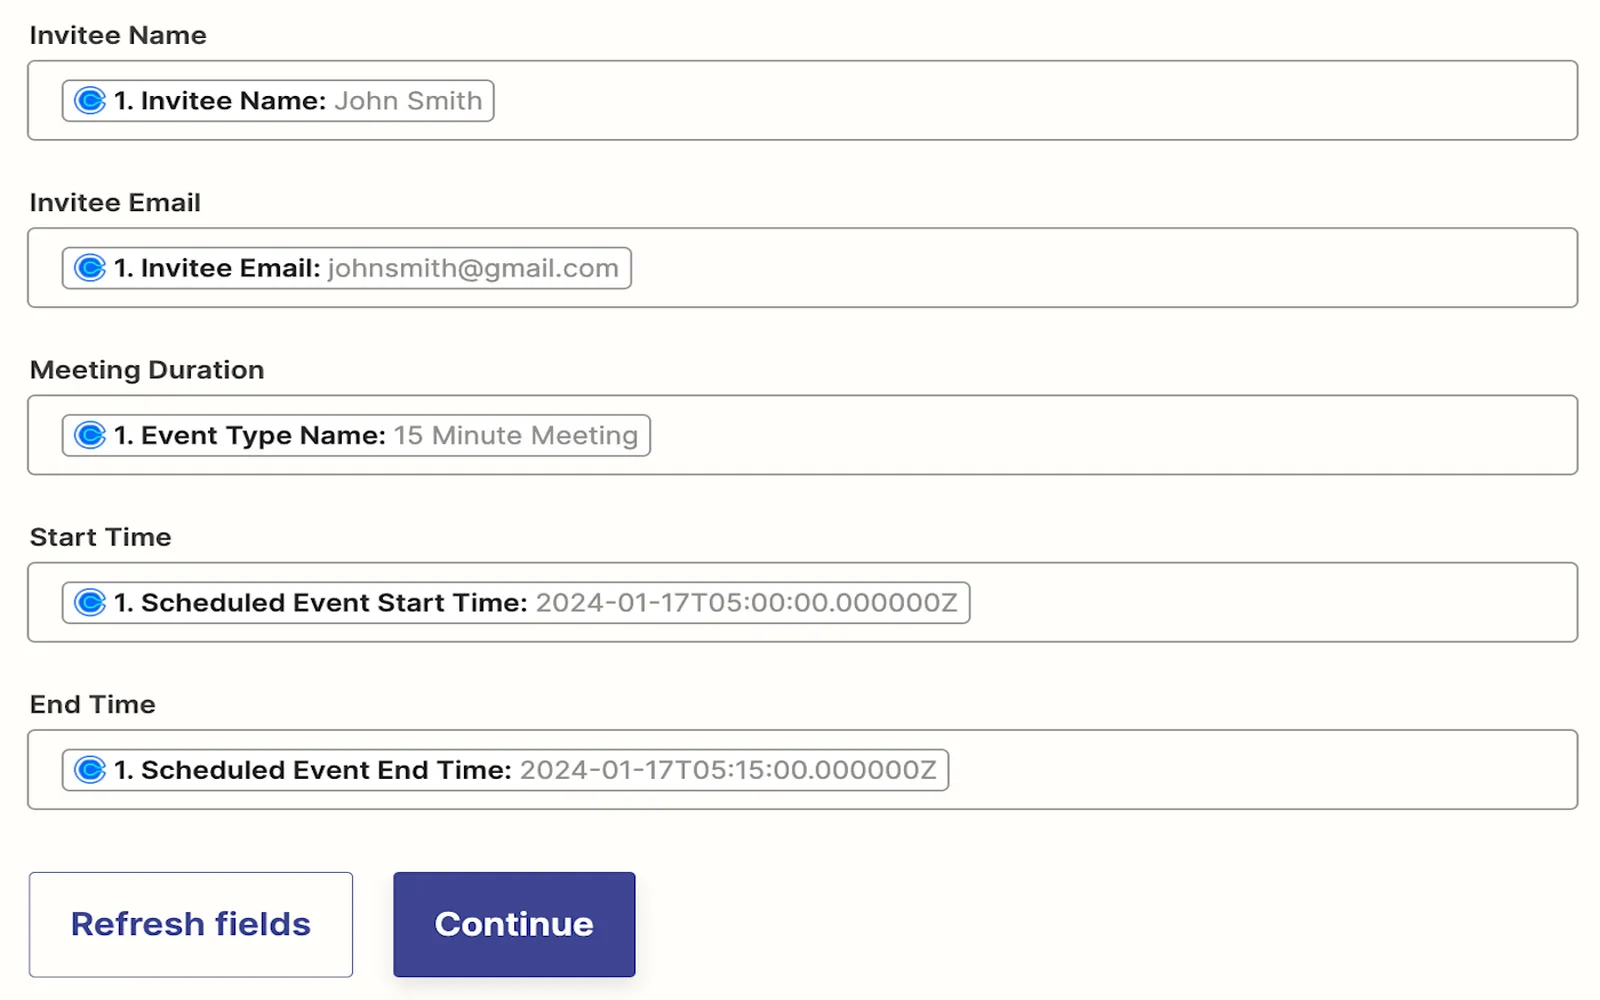
Step 4: Customize Your Google Sheets Entry
Now, you can customize the fields that will be added to your ''Google Sheets''. You can map the data from ''Calendly'' to the corresponding columns in your sheet:
- For instance, you might want to include columns for the ''Invitee’s Name'', ''Email'', ''Event Type'', and ''Event Time''.
- Make sure to specify which ''Calendly'' data goes into each column in your ''Google Sheets'' document.
Step 5: Test Your Zap
Before finalizing your setup, make sure to test the Zap. Zapier allows you to send a test invitee to your ''Google Sheets'' to see if everything is working properly. Check your sheet to confirm that the data appears as expected.
Step 6: Turn Your Zap On
After successful testing, turn on your Zap. From now on, every time a new ''Calendly event'' is created, it will automatically populate in your specified ''Google Sheets''. You can manage your schedules efficiently and keep track of all your appointments seamlessly.
Visualizing Your Data
Once your ''Calendly events'' are flowing into ''Google Sheets'', you can utilize various visualization tools available within ''Google Sheets'' to analyze your data. You can create charts, pivot tables, and graphs to get insights on:
- The most popular event types scheduled through ''Calendly''.
- Peak booking times and days.
- Invitee demographics and trends.
Conclusion
Integrating ''Calendly'' with ''Google Sheets'' is a straightforward process that can significantly enhance your scheduling efficiency. By using automation tools like Zapier, you can ensure that every new ''Calendly event'' is logged in real-time, allowing you to focus on what truly matters—your meetings and interactions with clients. With centralized data management and powerful visualization tools at your disposal, you can make informed decisions and optimize your scheduling strategy. Start automating your ''Calendly events'' today and experience the benefits of streamlined workflows!


